
tech talk
Anchoring in the Ice Park
NEW: Tripod Anchors

Bolted Anchors
By: Andrew Humphreys, Former Ice Park Ranger
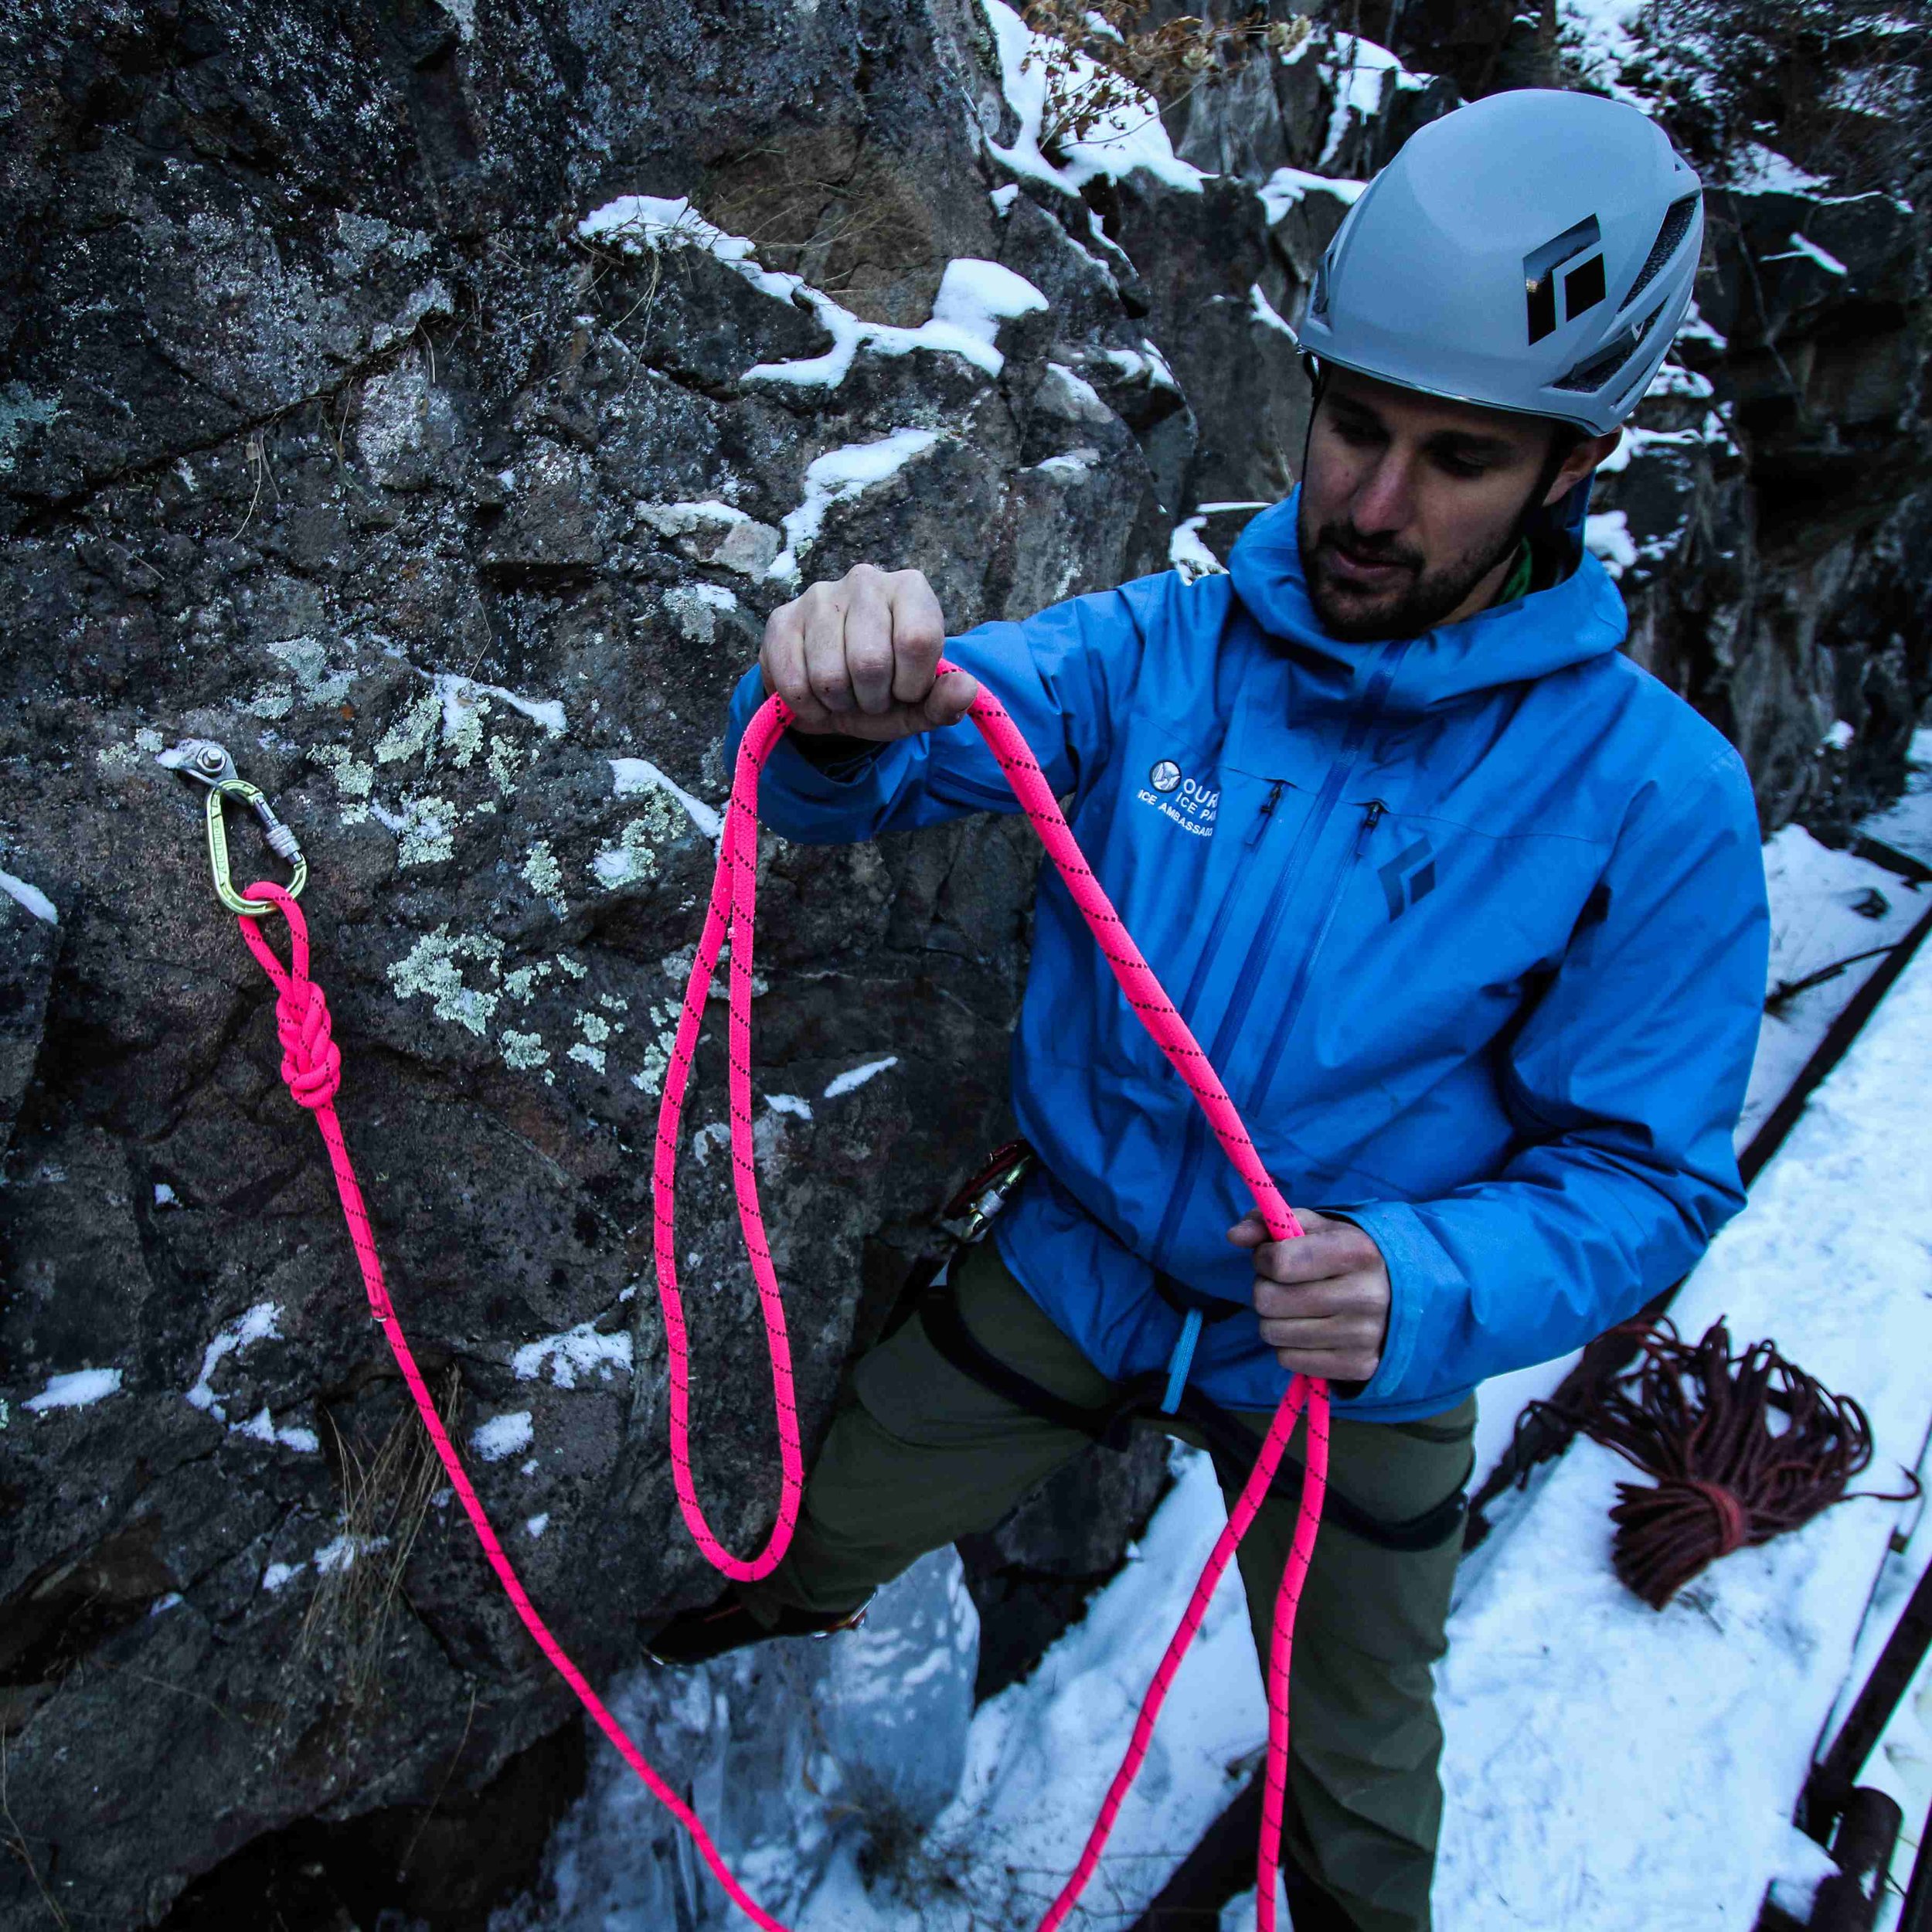
As Ice Ambassadors in the park, we see all sorts of anchor configurations on top-rope climbs, from bomber to darn-right scary. Anchors in the Park are often marked for identification, and they will either be bolted or a living tree. When it comes to bolts, there’s one rigging that we see over and over again that we immediately know is solid: The Mountain Guide Set-Up.
Over the years, local mountain guides have fine-tuned their Ice Park anchoring kit, developing a quick and easy set-up that ticks all the boxes for a solid, redundant anchor. The Ice Park is different from backcountry ice, and while much of the equipment is the same, there’s a few extra pieces of kit you’ll want to bring along in the Park.
How to Set Up a Bolted Anchor
What you’ll need:
60ft (20m) of Static Rope. Anchors in areas like South Park can be very far back from the edge!
4 locking carabiners (2 of them should be identical)
1. Tie a figure-8 on a bight in the end of the static rope. Be sure to leave a sufficient tail.

2. With a locking carabiner, clip the figure-8 to a bolt hanger.

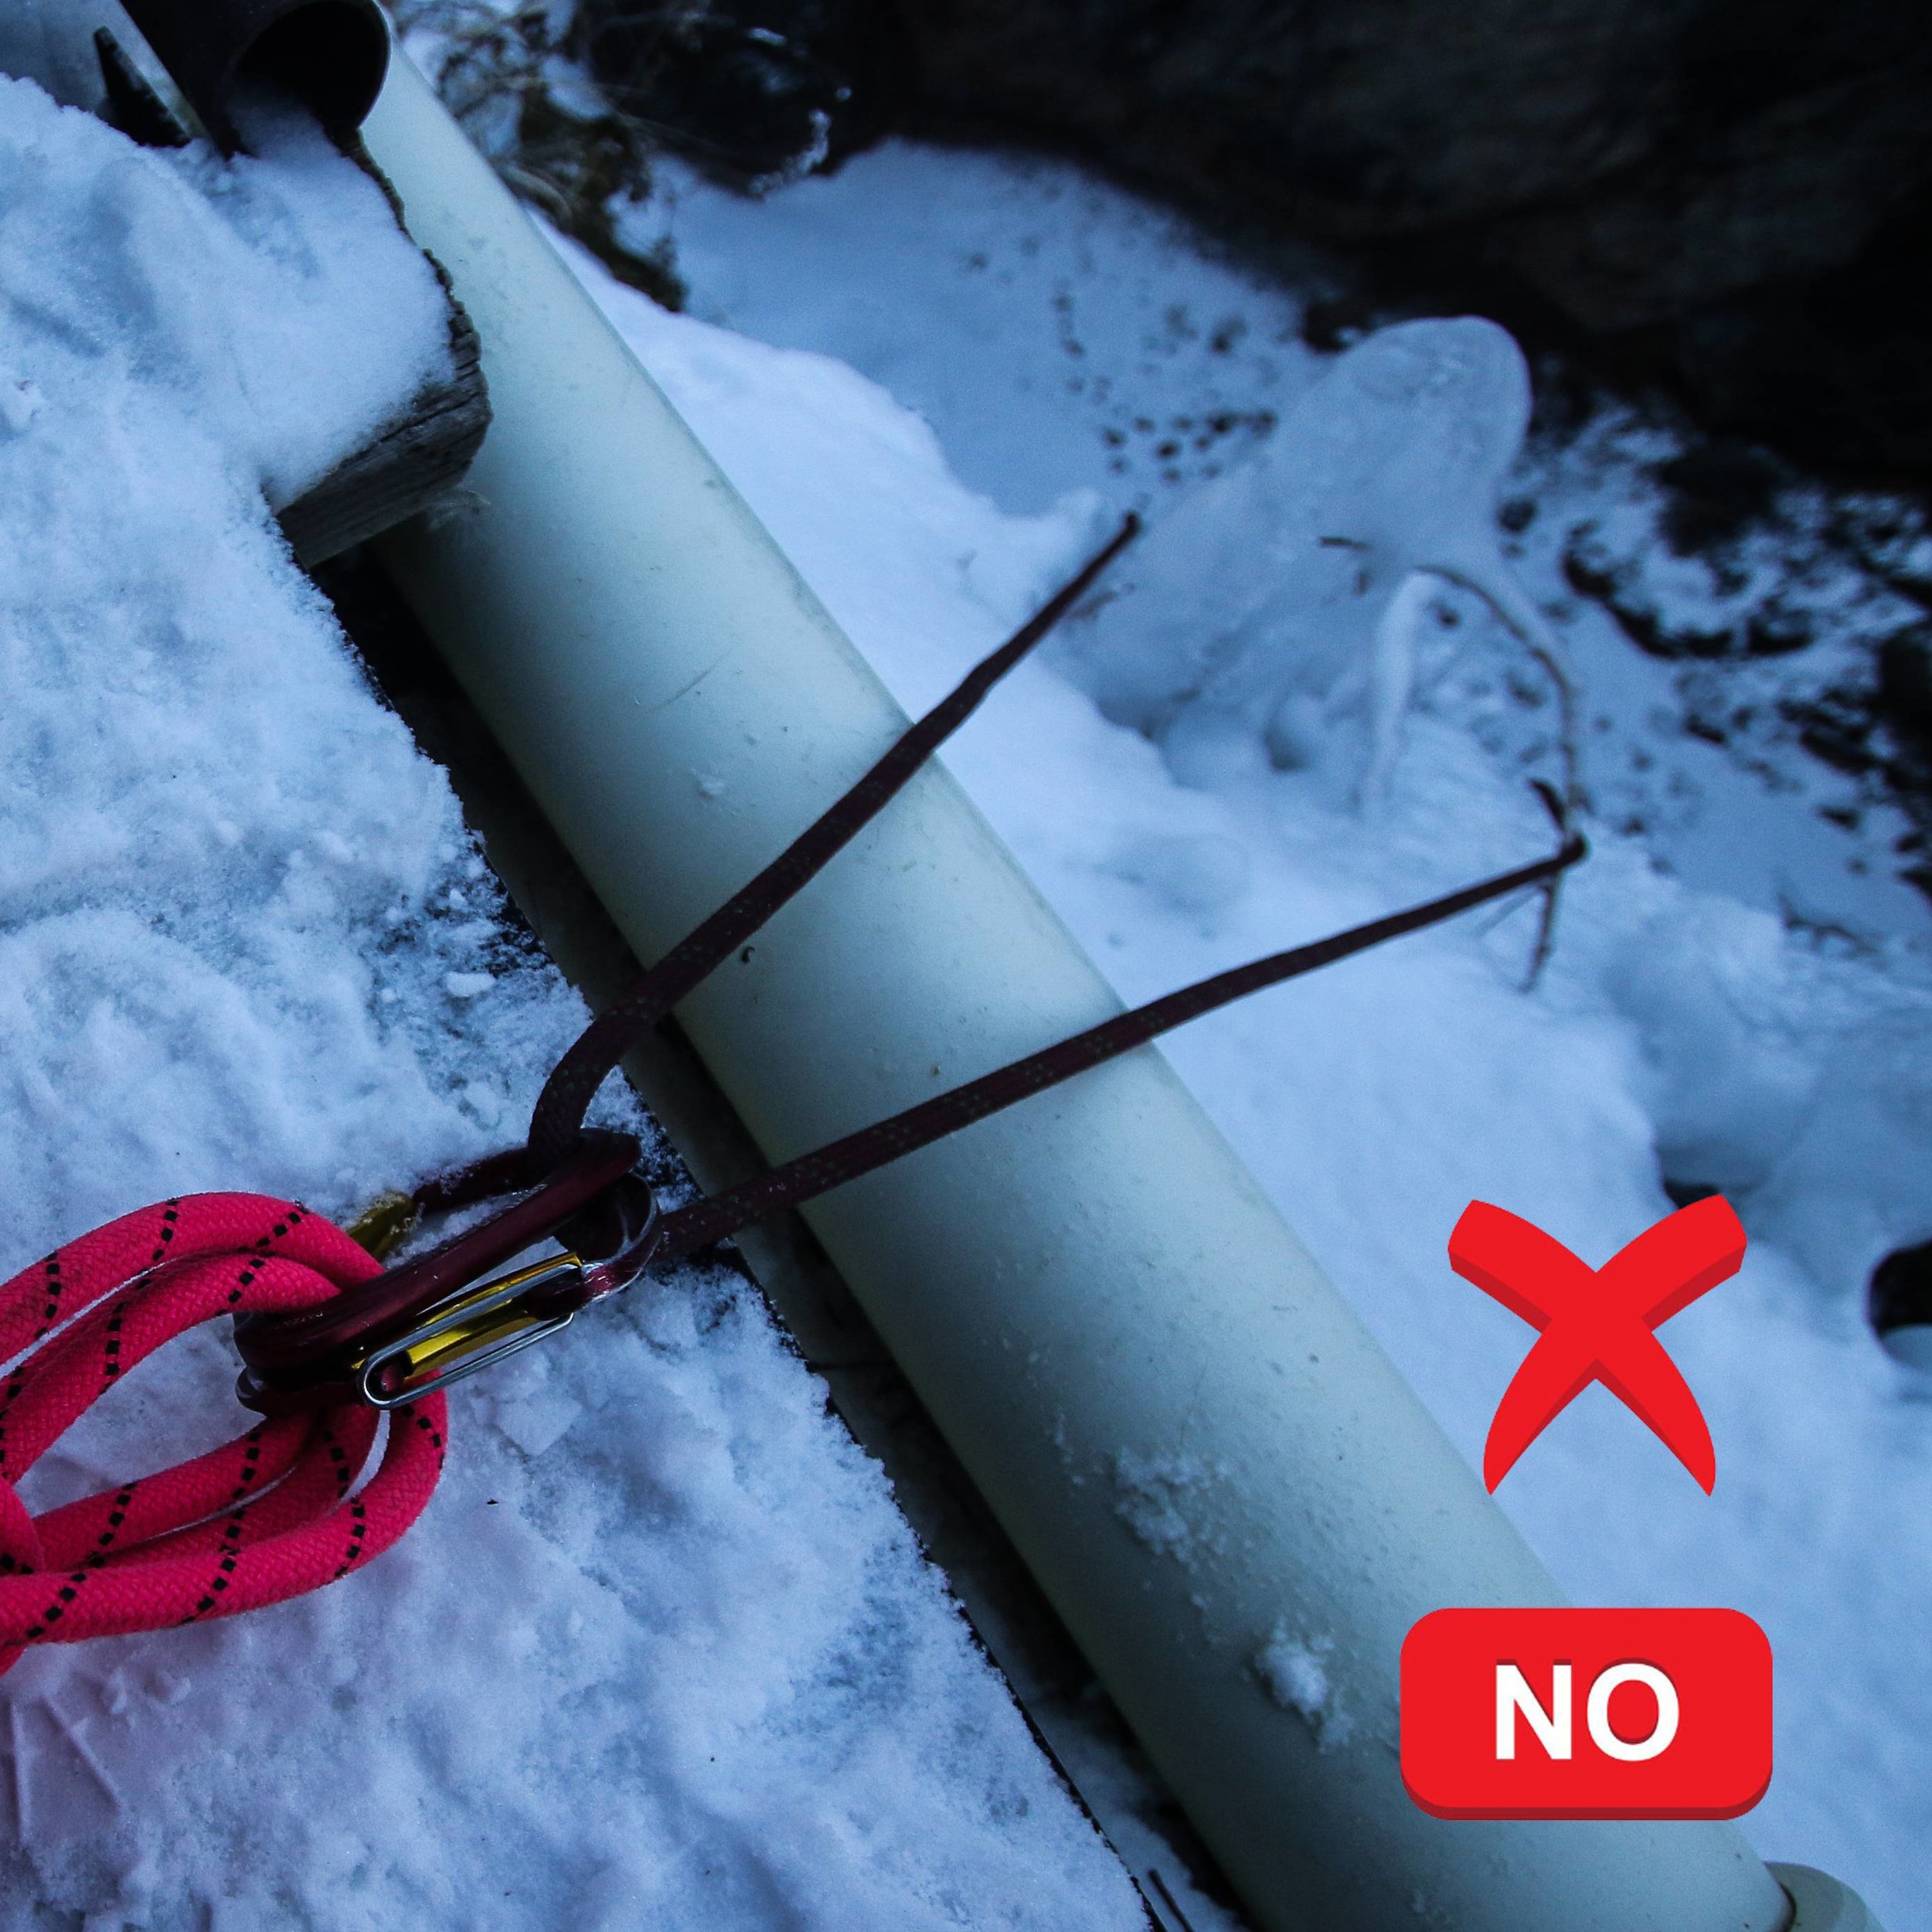
3. Drop a loop of rope approximately 5 feet past where you want your anchor focal point to be.

Be mindful of water pipes! Pressure and moving rope can damage our precious ice making plumbing! See last photo for example of what to avoid.
4. Pull the loop back up and fold the end in half to make a large, double-looped bight.
5. With the large bight, tie an overhand knot or figure-8 knot to create an anchor focal point.


10. Tidy up the remaining rope in a hanging coil.
6. Clip 2 identical carabiners, opposite and opposing, into all 3 loops of the anchor focal point.

7. Attach a locking carabiner to another bolt, and with the free end of the rope from the anchor point, tie a clove hitch on the carabiner.
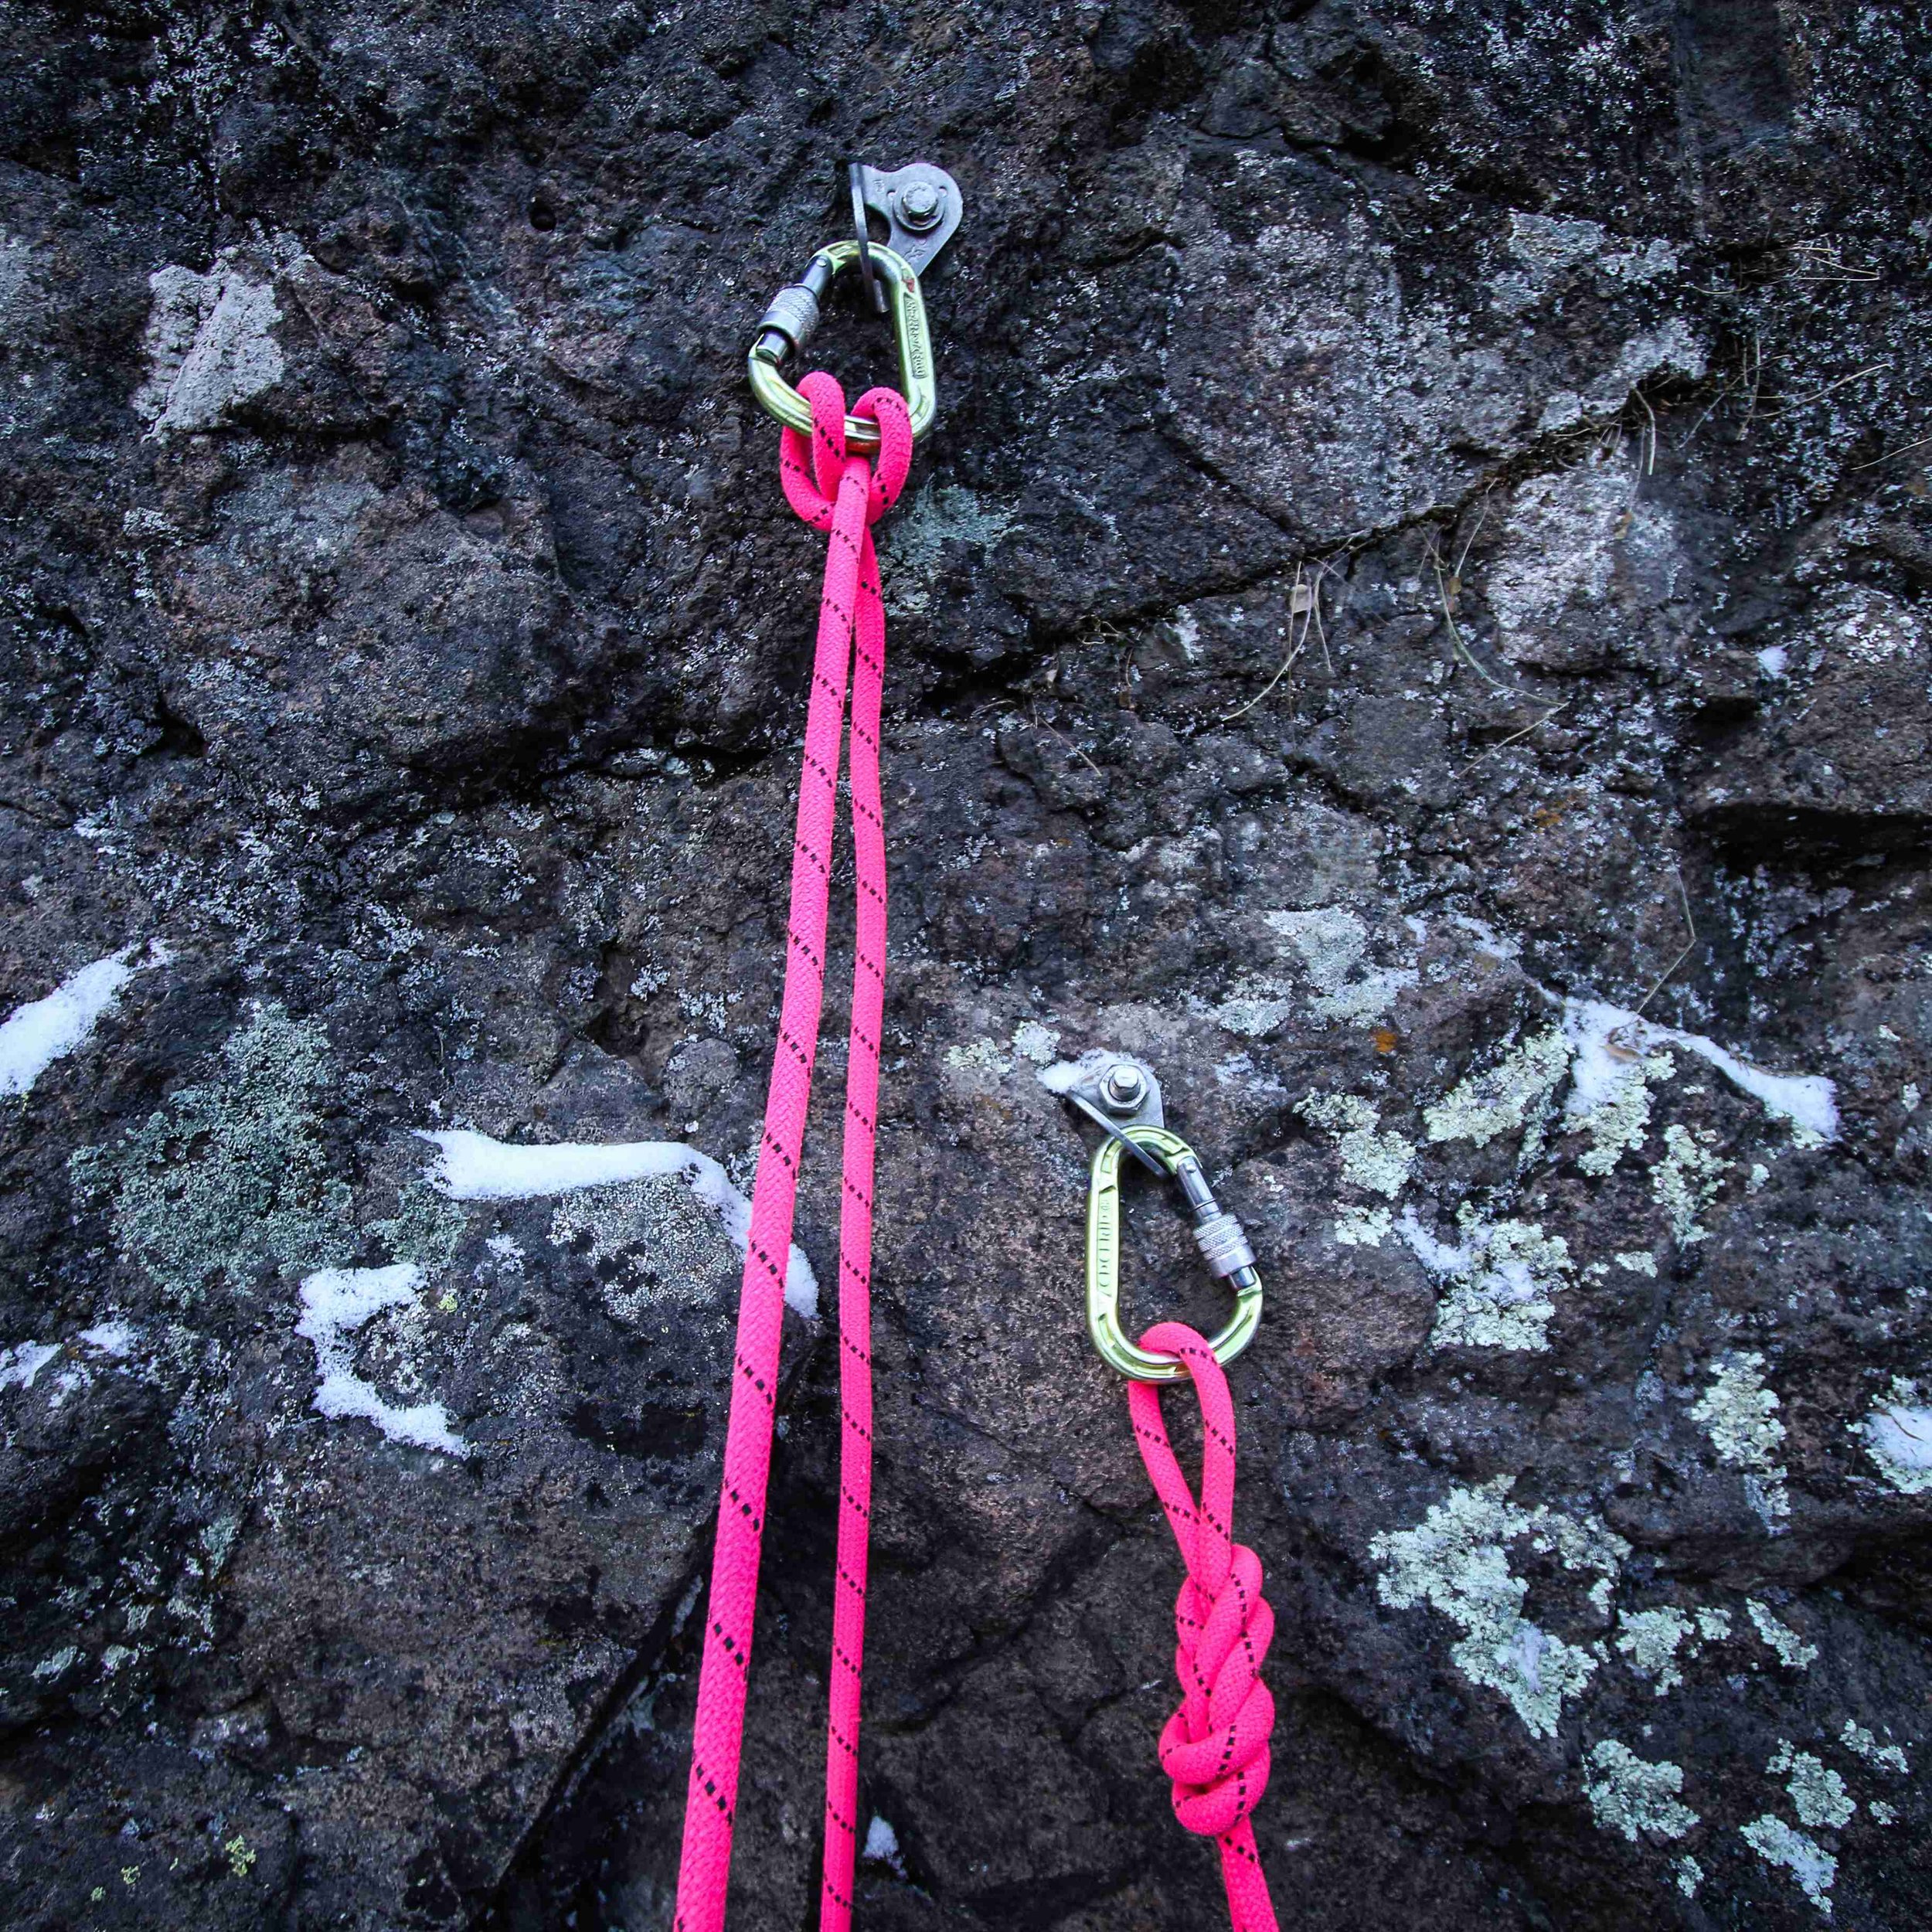
8. Adjust the clove hitch to equalize the strands of the anchor.

9. With the working end of the rope a few feet away from the clove hitch, tie a figure-8 on a bight and clip it into the same locking carabiner to close the system.

11. Set your climbing rope through the two carabiners at the anchor focal point

12. Double check your system and get ready to head into the gorge for some climbing!

Be mindful of water pipes! Pressure and moving rope can damage our precious ice making plumbing!
*Ouray Ice Park Inc. will not be held liable for improper execution or use of this technique. Regardless of your level, always seek regular, professional instruction to validate and refresh your skills. Best practice changes all the time! You can find a qualified guide any day of the week from the Ouray Ice Park’s authorized concessionaires.